


You know that feeling when you throw on a belt, look in the mirror, and immediately feel like your torso has been sliced into two unequal chunks? It’s frustrating. You wanted a sleek, defined silhouette, but instead, you got a visual chop that makes you look shorter or wider than you actually are. The culprit isn’t usually the belt itself-it’s where you placed it.
Belt placement is the strategic positioning of a belt on the body to alter perceived proportions, highlight natural curves, or create visual balance without disrupting the vertical line of an outfit. Unlike simply tightening a strap around your middle, true belt styling requires understanding your specific body geometry and the cut of your clothing. When done right, a belt doesn't just hold up pants; it acts as an architectural tool that guides the eye and elongates your frame.
Most people default to putting their belt at the top of their jeans or dress. This is the "safety zone," but it’s often the most flattering for only about 20% of body types. For everyone else, this standard position can truncate the legs or shorten the torso. The good news? Fixing this takes zero tailoring. It just takes moving the hardware a few inches up or down. Here is how to stop cutting yourself in half and start defining your shape with precision.
The Geometry of the Waist: Finding Your True Line
Before you even touch a buckle, you need to locate your actual waist. Not the place where your belly button is, and not the place where your jeans sit. Your anatomical waist is the narrowest part of your torso, typically located above the navel and below the ribcage. For many, this point is hidden under layers or obscured by boxy tops. If you place a belt here, you’re working with your body’s natural architecture. But what if you want to fake it?
If your natural waist is high (common in hourglass figures), placing a belt there creates an instant, leg-lengthening effect because it pushes the visual break upward, making everything below it look longer. Conversely, if you have a rectangular or apple-shaped body, your natural waist might be indistinct. In these cases, forcing a belt onto a non-existent curve can create bulges. Instead, you use visual illusion techniques. By placing the belt slightly lower, on the hips, you create a new focal point that mimics a curve where there isn’t one, drawing attention away from the midsection.
| Body Type | Ideal Belt Placement | Why It Works | Pitfall to Avoid |
|---|---|---|---|
| Hourglass | Natural Waist (above navel) | Highlights existing curves; maximizes leg length | Belts too wide that obscure the curve |
| Rectangle | Hip Level or Natural Waist | Creates artificial curvature; adds dimension | Placing belt exactly at the widest hip point |
| Apple | Empire Waist (under bust) | Skips the midsection entirely; flows over the stomach | Tight belts that dig into soft tissue |
| Pear | Natural Waist | Draws eye up to the smallest part; balances shoulders | Low-slung belts that emphasize hips |
| Inverted Triangle | Natural Waist or Hips | Adds volume to lower half; reduces shoulder dominance | Thick belts that add bulk to the upper body |
Mastering the High-Waist Hack
Let’s talk about the empire waist. This is the single most effective trick for anyone who feels "cut in half" by traditional belts. Instead of cinching the fabric at your navel, you pull the garment up so the seam sits just under your bust line, then secure it there. This technique works wonders for dresses, tunics, and even oversized button-down shirts worn open.
Why does this prevent the "chop"? Because it maintains a long, unbroken vertical line from your chest to your feet. When you belted at the navel, you create two distinct blocks: a top block and a bottom block. At the empire line, you create one continuous column of color and fabric, with the belt acting merely as a subtle accent rather than a hard divider. This is particularly powerful for petite frames. A low belt on a short person eats up leg space. A high belt gives you back those precious inches.
Try this with a flowy midi dress. Take a thin, delicate belt-think gold chain or skinny leather-and wrap it tightly just beneath your bra line. Do not tighten it to the point of discomfort; just enough to define the separation between bodice and skirt. You’ll notice your posture improves instantly because the fabric no longer drags heavily on your hips. You look taller, lighter, and more put-together without changing a single piece of clothing.
The Low-Slung Illusion for Long Torsos
Not everyone wants to look taller. If you have a long torso and short legs, a high-waisted belt can make your legs look stumpy. Here, you flip the script. Drop the belt down to your hips. This isn’t about wearing low-rise jeans (though that helps); it’s about positioning the accessory on the iliac crest-the bony prominence of your pelvis.
This placement draws the eye downward, creating the impression that your legs start lower than they do. It’s especially effective with structured coats or blazers. Instead of buttoning a coat at the natural waist, leave it open and let a belt sit loosely on the hips over a fitted top. The horizontal line now sits lower, balancing out the length of your upper body. Just be careful with width. A thick belt at the hips can add bulk. Stick to medium-width belts with minimal hardware to keep the look streamlined.
There’s a nuance here: fit matters more than position. If your pants are tight, a belt at the hips will dig in. If they’re loose, it will slide down. The sweet spot is a pair of trousers with a slight taper at the ankle, allowing the belt to sit firmly on the bone structure without slipping. Pair this with heeled boots, and you’ve effectively added four inches to your leg line through pure optical engineering.
Width Matters: Balancing Proportions
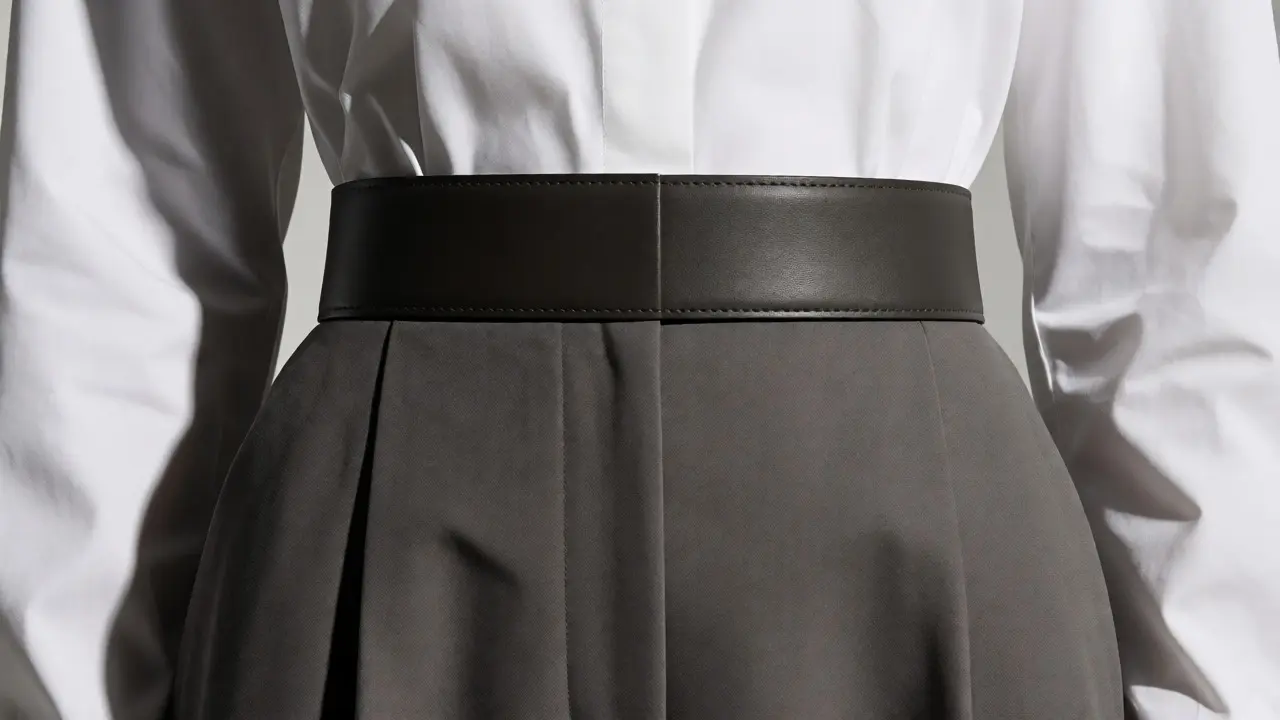
Placement is half the battle; the belt’s physical dimensions are the other half. A common mistake is wearing a belt that is either too wide or too narrow for the outfit’s scale. Think of your outfit as a canvas. If you’re wearing a chunky knit sweater, a thin belt disappears. It gets lost in the texture and fails to provide any structural definition. On the other hand, a massive, wide belt on a delicate silk blouse overwhelms the fabric, crushing the drape and looking heavy-handed.
A simple rule of thumb: match the belt’s weight to the fabric’s weight. Heavy fabrics (denim, wool, corduroy) can handle wide belts (1.5-2 inches). Light fabrics (silk, chiffon, fine cotton) require narrow belts (0.5-1 inch) or even sashes. This harmony prevents the "cutting" effect because the transition between the garment and the accessory feels intentional, not abrupt.
Consider color contrast. A belt that matches your pants extends the leg line visually. A belt that contrasts with both top and bottom breaks the body into three sections: top, middle, bottom. This triple split is rarely flattering unless you’re very tall. Aim for tonal continuity. If you wear black jeans and a grey top, choose a charcoal belt. It defines the waist without shouting, "Look at my waist!" It whispers, "Here is the shape," which is far more sophisticated.
Belt Types and Their Specific Jobs
Not all belts are created equal. Using a utilitarian work belt to style a cocktail dress is a recipe for disaster. Understanding the category of belt you’re using helps you predict its impact on your silhouette.
- The Corset Belt: These feature lacing or multiple hooks. They are aggressive shapers. Use them when you want extreme definition and don’t mind restricting movement. They work best over stiff fabrics like denim jackets or structured vests. Placed at the natural waist, they create an immediate hourglass but can shorten the torso if the corset is too tall.
- The Chain Belt: Lightweight and decorative. Chains don’t cinch; they decorate. They are perfect for adding sparkle without adding bulk. Place them loosely over a tunic or draped over a coat. Because they lack rigidity, they won’t "cut" the body sharply, making them ideal for those who fear the chopping effect.
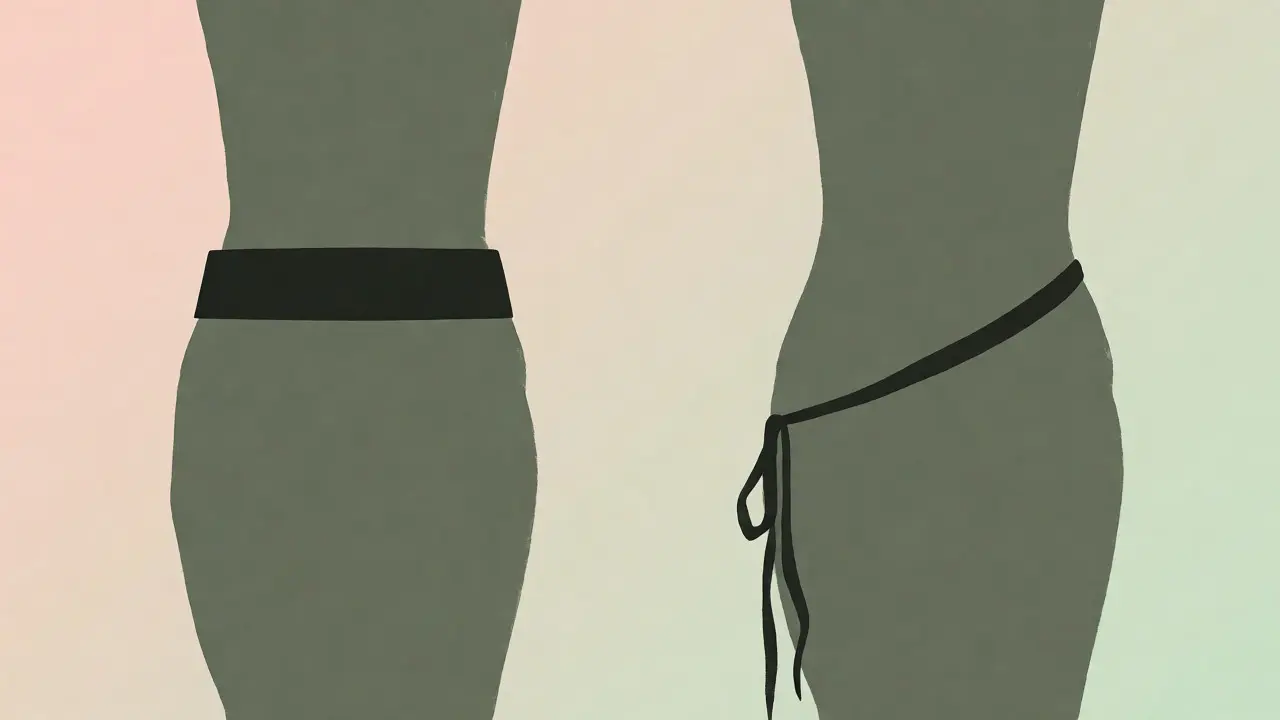
- The Fabric Sash: Soft and forgiving. Made from the same material as the garment or a complementary textile, sashes blend in. They soften the horizontal line. Great for apple shapes or anyone wanting a gentle definition. Tie them at the side for an asymmetrical look that breaks up the horizontal line further.
- The Leather Buckle Belt: The classic. Best for pants and skirts. Choose a buckle size proportional to your height. Petite women should avoid oversized buckles that dominate their frame. Tall women can carry off statement buckles that anchor their look.
Common Mistakes That Ruin the Silhouette
Even with the right placement, small errors can undo your progress. First, ignoring the rise of your pants. If you wear low-rise jeans, your natural waist is exposed. Belting there looks disjointed. Either tuck your shirt fully and belt at the waist, or leave the shirt untucked and belt at the hips. Don’t mix the two.
Second, forgetting about the neckline. A deep V-neck draws the eye down. If you also have a belt at the waist, you have two competing focal points. Balance them. If the neck is busy, keep the belt simple. If the belt is bold, keep the neckline modest. This coordination ensures the eye travels smoothly from face to toe without getting stuck.
Third, neglecting posture. Slouching compresses the torso, making any belt placement look awkward. Stand up straight. Engage your core. A defined waist relies on a strong central axis. If you slump, the belt slides, wrinkles form, and the clean lines disappear. Good posture is the invisible foundation of every great outfit.
Quick Reference Checklist
Use this list before heading out the door to ensure your belt serves you, not defeats you.
- Identify your goal: Elongate legs? Highlight curves? Add interest?
- Locate your natural waist vs. desired visual waist.
- Select belt width appropriate for fabric weight.
- Choose color for continuity (tonal) or contrast (statement).
- Place belt: High for leg length, Hip for torso balance.
- Check for bunching: Smooth out fabric above and below the belt.
- Mirror check: Does the eye travel vertically? Or does it get stuck horizontally?
Styling is experimental. What works for one body type may fail for another. Play with these placements. Try the empire waist on a Tuesday. Try the hip drop on a Thursday. Keep what makes you feel confident and discard what doesn’t. Fashion rules are suggestions, but physics is real. Respect the geometry of your body, and the clothes will follow.
Does wearing a belt always make you look shorter?
No, it depends on placement. A belt placed at the natural waist (high) tends to elongate the legs, making you appear taller. A belt placed low on the hips can shorten the appearance of the legs but lengthen the torso. The key is maintaining vertical continuity through color matching.
How do I hide a belly with a belt?
Avoid tight belts at the midsection. Instead, opt for an empire waist placement (under the bust) or a loose, draped sash. This skips the abdominal area entirely, allowing the fabric to flow over the stomach without constriction.
Can I wear a belt over a cardigan?
Yes, but use caution. Thick knits can add bulk. Use a thin, flexible belt or a chain belt to avoid adding extra thickness. Place it at the natural waist to define the shape underneath the knitwear.
What belt width is best for petite women?
Petite frames generally benefit from narrower belts (under 1 inch) or medium widths (1-1.5 inches) placed high. Wide belts can overwhelm a smaller frame, while thin belts maintain proportionality without dominating the silhouette.
Should the belt match my shoes or my bag?
Traditionally, belts matched shoes, but modern styling allows more flexibility. Matching your bag can create a cohesive accessory story. However, tonal matching with your pants or skirt is often more effective for elongating the body.