
In 2024, NFT sales exploded past $30 billion, and more than 85% of those purchases were made using Ethereum. If you’ve been waiting for the right moment to dive in, this guide will walk you through every move - from setting up a wallet to confirming you own that digital piece of art.
What an NFT and Ethereum Actually Are
When you hear NFT is a non‑fungible token that represents unique digital ownership on a blockchain, the first thing that comes to mind is usually art, collectibles, or virtual land. Unlike a Bitcoin, one NFT can’t be swapped one‑for‑one with another because each token carries its own metadata.
Ethereum is a public blockchain that enables smart contracts and hosts the vast majority of NFT activity. Its flexibility lets developers create standards such as ERC‑721, which defines how NFTs behave on the network.
Job #1 - Set Up a Crypto Wallet That Supports Ethereum
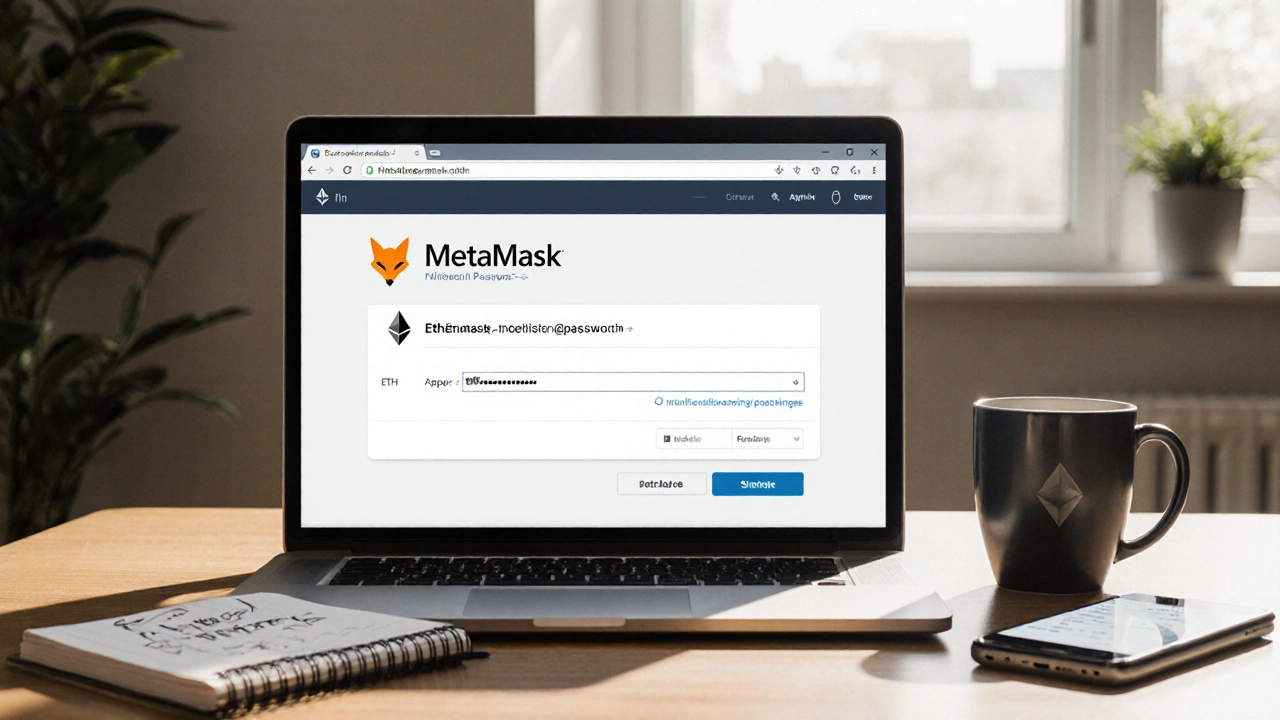
The first concrete step is to get a wallet that can store ETH and interact with NFT marketplaces. For most beginners, MetaMask is the easiest choice because it works as a browser extension and a mobile app.
- Visit the official MetaMask site and download the extension for Chrome, Firefox, or Edge.
- Follow the on‑screen prompts to create a new wallet. Write down the 12‑word seed phrase and keep it offline - this is the only backup you’ll have.
- Set a strong password for daily use. You’ll need it every time you open the extension.
Once installed, you’ll see the MetaMask icon in your toolbar. Click it, and you’ll be greeted by your new Ethereum address - a long string of letters and numbers that acts like your account number.
Job #2 - Acquire Ethereum (ETH) to Pay for Your NFT
Ethereum isn’t free, and you’ll need enough to cover both the price of the NFT and the network’s gas fee. Here’s a quick way to buy ETH:
- Open a reputable cryptocurrency exchange such as Coinbase, Kraken, or Binance.
- Complete the KYC verification - a photo ID and a selfie are usually enough.
- Buy ETH using your bank account, credit card, or other supported payment method.
- Withdraw the purchased ETH to the wallet address you created in MetaMask.
Tip: Transfer a little extra ETH (around 0.01‑0.02 ETH) to cover gas, especially if you’re buying during a network‑congested period.
Job #3 - Choose an NFT Marketplace that Accepts Ethereum
Not every marketplace works the same way. Below is a quick side‑by‑side look at three of the most popular platforms.
| Marketplace | Primary Audience | Avg. Gas Fee (USD) | Unique Feature |
|---|---|---|---|
| OpenSea | General collectors | ~$8‑$12 | Supports both ERC‑721 and ERC‑1155 tokens |
| Rarible | Artists & creators | ~$7‑$10 | Community‑governed via RARI token |
| LooksRare | Deal hunters | ~$6‑$9 | Rewards buyers with LOOKS tokens |
All three accept ETH directly, but OpenSea usually has the largest inventory, making it a safe starting point for newcomers.
Job #4 - Connect Your Wallet to the Marketplace
Now that you have a wallet stocked with ETH, you need to link it to the marketplace you chose. The process is almost identical across sites:
- Go to the marketplace’s website and click the “Connect Wallet” button.
- Select “MetaMask” from the list of supported wallets.
- A MetaMask pop‑up will appear asking you to confirm the connection. Click “Connect”.
After you confirm, the site will display your wallet address, often with a small ETH balance shown in the header.
Job #5 - Find the NFT You Want and Review the Details
Browse categories, use the search bar, or explore collections that interest you. When you click on a token, you’ll see important data:
- Token ID - the unique number that identifies the NFT on the blockchain.
- Contract Address - the smart contract that created the token, usually visible on Etherscan.
- Creator - the wallet or verified profile that minted the piece.
- Price - listed in ETH, sometimes with a USD approximation.
Make sure the seller’s address matches a verified profile or a reputable marketplace listing. Scams often hide behind low‑priced imitations.
Job #6 - Complete the Purchase (Paying Gas Efficiently)
When you’re ready, click the “Buy Now” button. A MetaMask confirmation window pops up with three key fields:
- Amount - the total ETH you’ll send (price + gas).
- Gas Limit - the maximum amount of gas the transaction can consume. Most marketplaces set a sensible default.
- Gas Price - measured in gwei. You can choose “Slow”, “Average”, or “Fast”. For a first purchase, “Average” is a safe bet.
Click “Confirm”. The transaction then travels to the Ethereum network. Depending on congestion, it might finalize in seconds or take a few minutes. You can track it on Etherscan by copying the transaction hash from MetaMask.
Job #7 - Verify Ownership and Store Your NFT Safely
Once the transaction is marked “Success”, the NFT appears in your wallet’s “Collectibles” tab. You can also view it directly on the marketplace, where it will show as “Owned by [your address]”.
To keep a record, consider the following:
- Take a screenshot of the transaction hash and the marketplace listing.
- Export the token’s metadata JSON file (many wallets let you download it).
- Store the seed phrase of your wallet in a secure offline location - without it, you lose access forever.
Job #8 - Security Tips and Common Pitfalls to Avoid
Even after a smooth purchase, the NFT world is still a wild west. Here are the top things to watch out for:
- Phishing sites - Always double‑check the URL. Official marketplaces use HTTPS and have “opensea.io”, “rarible.com”, etc.
- Fake contracts - Some sellers list a copy of a popular NFT but point to a different contract address. Verify the contract on Etherscan.
- Gas spikes - If you see gas fees above $30, hold off unless it’s urgent. Prices can tumble within hours.
- Private key leaks - Never paste your seed phrase into a chat, email, or website. Only the wallet app should ever see it.
Following these practices turns a potentially risky transaction into a routine purchase.
Quick Checklist to buy NFT with Ethereum
- Install MetaMask and back up the seed phrase.
- Buy enough ETH on a reputable exchange and transfer it to MetaMask.
- Choose a marketplace (OpenSea, Rarible, LooksRare) and connect your wallet.
- Find a verified NFT, check contract address, and confirm the price.
- Adjust gas settings, confirm the transaction, and wait for confirmation.
- Verify ownership in your wallet and keep records safe.
- Stay alert for phishing, fake contracts, and gas spikes.
Do I need a separate wallet for each NFT marketplace?
No. A single Ethereum‑compatible wallet like MetaMask works across OpenSea, Rarible, and LooksRare. You only need to connect the same wallet each time.
How much ETH should I keep for gas fees?
Gas fluctuates, but budgeting 0.01‑0.02 ETH per purchase covers most average‑traffic days. During high‑traffic events, add a little extra.
Can I cancel an NFT purchase after I hit ‘Confirm’?
Once the transaction is broadcast to the Ethereum network, it cannot be reversed. If it’s still pending, you can try to speed it up with a higher gas price, but you can’t cancel it outright.
Is buying an NFT with Ethereum safer than using a centralized platform?
Ethereum’s blockchain is decentralized, meaning no single party can freeze or seize your token. However, safety still depends on your wallet security and avoiding phishing sites.
What’s the difference between ERC‑721 and ERC‑1155?
ERC‑721 defines a single, unique token per contract - perfect for artwork. ERC‑1155 allows both fungible and non‑fungible tokens in one contract, saving gas for batch transfers.


Write a comment