

You’ve got that plain black denim jacket or a canvas tote that’s seen better days. It’s functional, sure, but it feels like everyone else has one too. You want to make it yours without spending hundreds on a custom designer piece. That’s where enamel pins and fabric patches come in. These small accessories are the cheapest, fastest way to inject personality into your wardrobe. But slapping them on randomly looks messy. There’s a difference between curated chaos and just looking like you lost a bet with a sewing kit.
I’ve spent years curating collections from street markets in New York to online boutiques, and I’ve learned that styling these items is less about decoration and more about storytelling. Your jacket or bag becomes a gallery of your interests, travels, and humor. Here is how to do it right, avoiding the clutter trap while making a statement.
The Psychology of Pin Placement: Why Location Matters
Before you even think about which pin to use, you need to understand the canvas. A leather jacket, a denim trucker, a wool blazer, and a nylon backpack all have different visual weights. If you cover every inch of a structured wool blazer with heavy metal pins, you’ll warp the fabric and look costumey. The goal is balance.
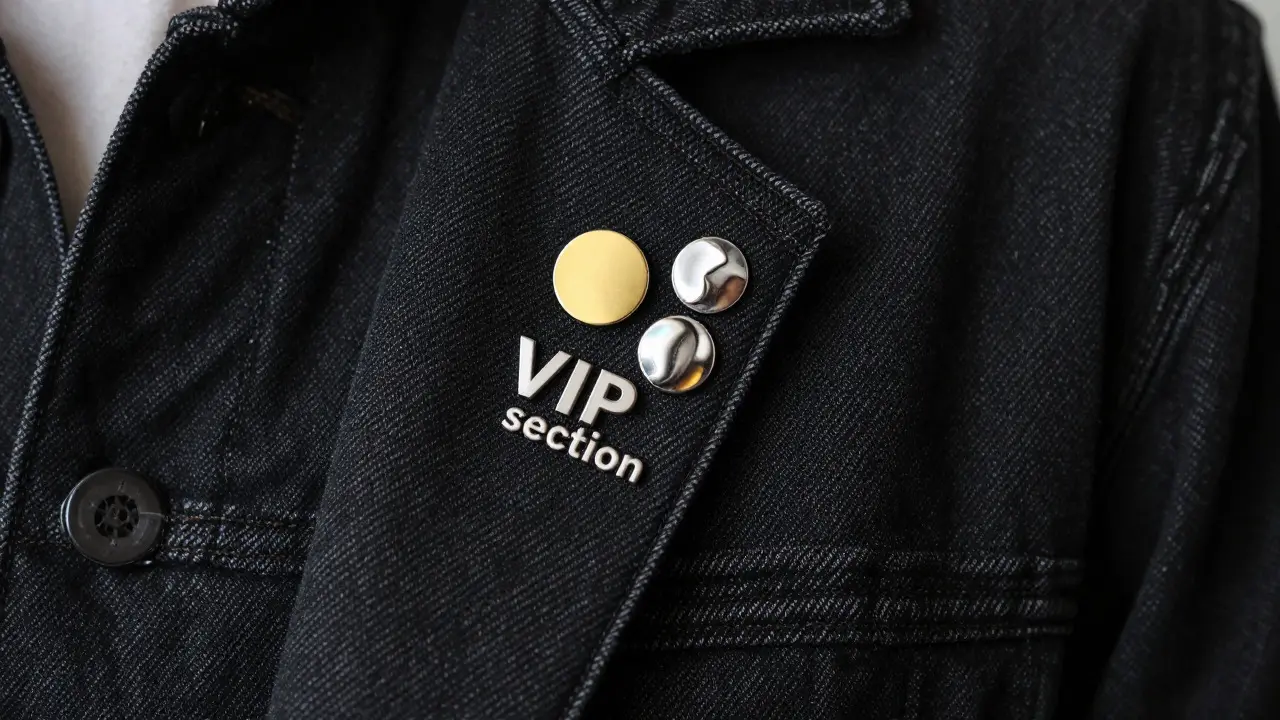
Think of your garment as having zones. The lapel is the 'VIP section.' This is where you put your most meaningful or visually striking pin. It’s the first thing people see when they approach you. For jackets, the left lapel is traditional, mimicking military insignia or corporate badges, which gives it an air of authority. The right lapel or the shoulder area is more casual and allows for experimentation.
On bags, the rules shift slightly. A messenger bag has a large front flap, which acts like a billboard. Here, you can create clusters. A backpack has multiple surfaces; the main compartment is too big to fill entirely, so focus on the side pockets or the top handle strap. Small details here catch the eye without overwhelming the silhouette.
Hard vs. Soft: Matching Mediums to Materials
Not all accessories work on all fabrics. This is the biggest mistake beginners make. They try to sew a heavy embroidered patch onto thin silk or stick a large enamel pin onto a flimsy nylon shirt, causing tears.
| Garment Material | Best Accessory Type | Attachment Method | Pitfalls to Avoid |
|---|---|---|---|
| Denim (Jackets/Pants) | Enamel Pins, Iron-on Patches | Rubber clutch backs, Sewing, Fabric glue | Avoid heavy clusters on seams; they cause fraying. |
| Leather/Faux Leather | Heavy Metal Pins, Studs | Screw-backs (preferred), Heavy-duty clutches | Standard rubber backs will slip off smooth leather. |
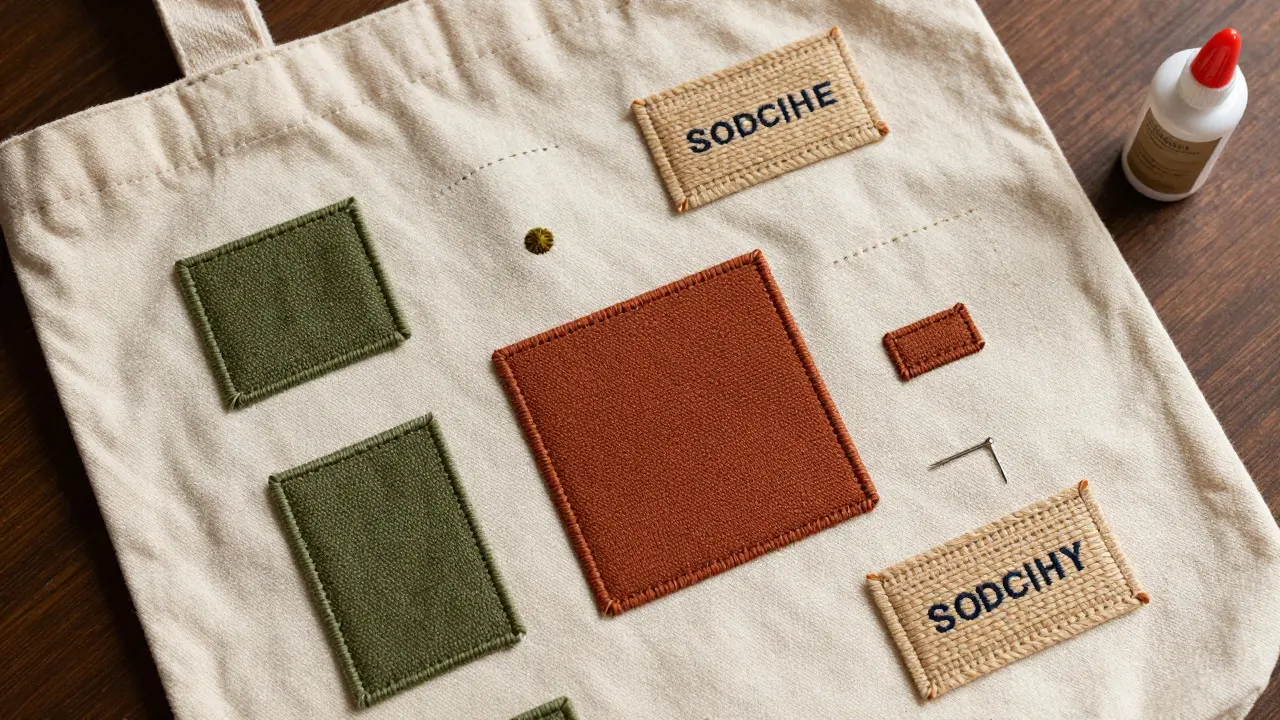
| Cotton Canvas (Totes/Shirts) | Embroidered Patches, Woven Labels | Sewing, Iron-on adhesive | Iron-ons may peel after washing; sewing lasts longer. |
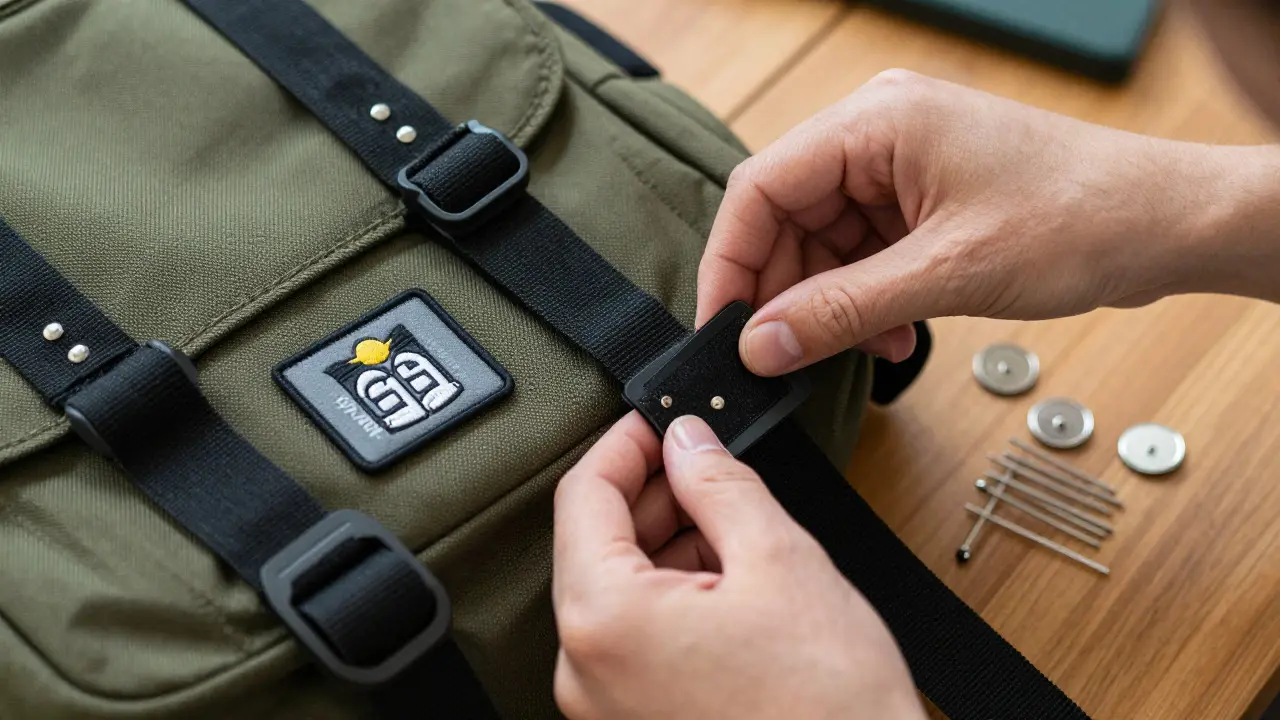
| Nylon/Polyester (Backpacks) | Morale Patches (Velcro), Lightweight Pins | Velcro strips, Safety pins (if no holes) | Heavy pins will tear the mesh or rip through zippers. |
| Wool/Tweed (Blazers) | Small Lapel Pins, Brooches | Pin stems, Magnetic backs | Too many pins will distort the weave and leave holes. |
If you’re working with leather, standard rubber backs are useless. The smooth surface offers no grip. You need screw-backs or magnetic clasps designed for leather. For denim, the thick weave holds rubber backs well, but if you’re stacking pins, consider sewing a small backing patch inside the jacket to distribute the weight and prevent the backings from poking your skin.
Creating Visual Cohesion: Color Theory for Accessories
You don’t need a degree in art to make your collection look intentional. You just need a theme. Randomly placing a neon green pin next to a vintage sepia-toned patch creates visual noise. Instead, pick a color palette.
If your jacket is black, you have freedom. Silver hardware looks sleek and modern; gold hardware feels warmer and more vintage. Try mixing metals sparingly-maybe one gold pin among several silver ones to draw attention. If your bag is beige or khaki, earth tones like olive green, rust, and brown patches blend beautifully. Bright colors pop against neutral backgrounds.
Consider the 'Rule of Three.' Grouping three related items together creates a focal point that the eye naturally follows. For example, three pins depicting different phases of the moon, or three patches from cities you’ve visited. This clustering technique turns random objects into a narrative. Leave negative space around these clusters. Let the garment breathe. Overcrowding makes everything look cheap.
DIY Techniques: Making It Last
Buying pre-made customized jackets is expensive. Doing it yourself is satisfying and cost-effective, but durability is key. You don’t want your favorite pin falling off on the subway.
- Reinforce the Back: For heavy enamel pins, especially on lighter fabrics like cotton shirts, sew a small piece of interfacing or a tiny leather square to the inside of the garment before attaching the pin. This prevents the pin stem from tearing through the fabric over time.
- Use Fabric Glue Wisely: While iron-on patches are convenient, they often fail after a few washes. Apply a thin line of fabric glue (like Aleene’s) around the edges of the patch before ironing. Then, hand-stitch the perimeter for a permanent hold. This hybrid method is foolproof.
- Velcro for Rotation: If you love changing your look daily, sew hook-and-loop (Velcro) tabs onto your bag or jacket. Buy patches with Velcro backing (common in military surplus stores). This allows you to swap designs without adding more pinholes or damaging the fabric.
- Safety Pin Hacks: Not every bag has grommets. Use large safety pins to attach larger patches or clusters of smaller pins to straps. Cover the sharp end with a bit of hot glue or a bead to prevent snagging other clothes.
Where to Source Quality Pieces
The quality of the accessory matters as much as the placement. Cheap pins have dull colors and weak backs that break. Look for 'hard enamel' pins. These have a smooth, glass-like finish because the enamel is filled flush with the metal borders. 'Soft enamel' pins have textured surfaces where you can feel the ridges of the metal. Both are stylish, but hard enamel tends to look more premium and durable.
For patches, avoid those with plastic-like stiff backing unless you plan to sew them down immediately. High-quality embroidery uses dense stitching that doesn’t unravel. Etsy remains the best marketplace for unique, artist-made pins and patches. Search for specific niches like 'botanical enamel pins' or 'vintage travel patches' rather than generic terms. Local craft fairs in cities like New York or Portland also offer incredible handmade options where you can inspect the hardware before buying.
Troubleshooting Common Styling Mistakes
Even experienced stylists make errors. Here are the most common issues and how to fix them.
- The 'Scratch' Factor: Large pins with rough edges can scratch your neck or chin. Always check the back of the pin. If the clutch is loose, tighten it with pliers. If the pin itself is jagged, add a clear nail polish coat to the edges to smooth them out.
- Fabric Distortion: If your jacket collar is curling because of heavy pins, you’ve overloaded the area. Remove half the pins and redistribute them to the shoulders or lower back. Structure should remain intact.
- Color Clash: Does a pin clash with your outfit? It might not be the pin, but the lighting. Metallics reflect light differently indoors vs. outdoors. Test your combination in natural daylight before heading out.
- Lost Backings: Keep a spare pack of rubber clutches in your bag. Losing a backing means losing the pin within hours. Magnetic backs are a great alternative for frequent changers, though they require a steel washer inside the fabric for strong hold.
Next Steps: Building Your Collection
Start small. Pick one jacket or bag. Choose one theme-maybe your favorite bands, local landmarks, or abstract art. Buy three high-quality pieces. Arrange them on the garment without attaching them yet. Step back. Take a photo. Adjust until it feels balanced. Then attach.
As you grow your collection, rotate items seasonally. Store unused pins in a clear acrylic organizer or a pin board to keep them visible and organized. This hobby isn’t just about decoration; it’s about curating your identity in a tangible way. Every pin tells a story. Make sure yours is worth telling.
Can I put enamel pins on a leather jacket?
Yes, but standard rubber backs won't stay on smooth leather. You must use screw-back fasteners or magnetic clasps designed for leather. Alternatively, you can drill small holes (carefully) and use rivets, but this is permanent. Screw-backs are the safest reversible option.
How do I remove an iron-on patch without damaging the fabric?
Heat is your friend. Place a clean cloth over the patch and apply a hot iron for 30-60 seconds to reactivate the adhesive. Gently peel the patch away from one corner. If residue remains, use a little rubbing alcohol or adhesive remover on a cotton swab to dissolve the glue. Wash the garment afterward to remove chemicals.
What is the difference between hard and soft enamel pins?
Hard enamel pins have a smooth, polished surface because the enamel is filled level with the metal lines and then sanded down. They look like jewelry and are more durable. Soft enamel pins have a textured surface where the metal lines are raised above the enamel. They are cheaper to produce and have a more tactile, artistic feel.
How many pins should I put on a jacket?
There is no strict number, but aim for balance. A good rule is to leave at least 50% of the fabric visible. Clusters of 3-5 pins work well in one area, separated by negative space. If your jacket looks like a pincushion with no gaps, remove some. Less is often more impactful.
Are morale patches better than enamel pins for backpacks?
Morale patches (usually with Velcro backing) are generally better for backpacks because they are lightweight and flexible. Enamel pins are heavy and rigid, which can tear nylon fabric or get caught in zippers. Morale patches also allow for easy swapping of designs without adding more pinholes.