

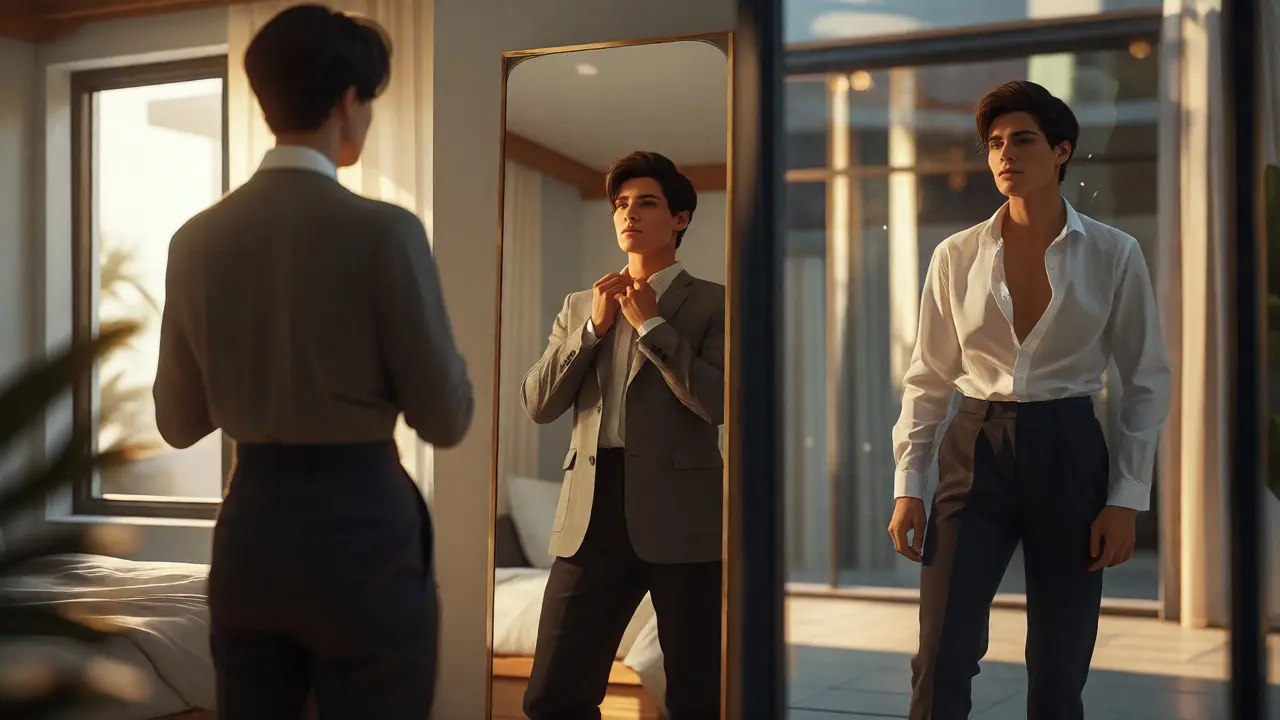
You know that feeling. You spend twenty minutes in front of the mirror, adjusting a collar here, tucking a shirt there, thinking you look sharp. Then you step outside, catch your reflection in a shop window, and realize the outfit looks nothing like it did in your bathroom. Why does this happen? Because mirrors lie. They show you a static, idealized version of yourself from one angle, under specific lighting, often while you’re holding your breath or sucking in your stomach.
The gap between how you think you look and how the world sees you is where bad styling decisions live. To bridge that gap, professional stylists don’t just guess-they use data. And no, I’m not talking about buying expensive software. I’m talking about the Mirror and Photo Method. This is a simple, objective technique that uses two tools you already own: a full-length mirror and your smartphone camera. By combining immediate visual feedback with recorded evidence, you stop relying on memory and start building a wardrobe that actually works for your body type and lifestyle.
Why Your Mirror Is Lying to You
Let’s be real about what happens when you get dressed. You stand in front of a mirror. It’s usually narrow, maybe three feet wide. The lighting is often overhead fluorescent or warm yellow bulb light-neither of which represents natural daylight. More importantly, the mirror shows you a single, frozen moment. It doesn’t show how the fabric drapes when you walk, how the pants bunch up when you sit, or how the jacket pulls across your shoulders when you reach for a coffee cup.
This creates a cognitive bias called "confirmation bias." You want the outfit to work, so your brain ignores the slight bunching at the waist or the awkward length of the sleeve. You see what you *want* to see. A photograph, however, is brutally honest. It captures the reality of proportions, color clashes, and fit issues that your brain filters out. When you switch from subjective mirroring to objective photography, you remove the emotion from the equation. You become an observer of your own style rather than a participant in your own delusion.
Setting Up Your Mirror Station
Before you start snapping photos, you need to fix your primary tool: the mirror. If your current setup makes you feel confident but leads to public embarrassment, your mirror station is likely flawed. Here is how to build a functional assessment zone.
- Lighting: Natural light is king. Position your mirror near a window if possible. If you can’t, use a ring light or softbox positioned at eye level. Avoid overhead lights that cast shadows under your eyes and create unflattering highlights on your chest.
- Angle: Stand parallel to the mirror, not angled. Angled mirrors elongate the torso, which is great for vanity but terrible for accuracy. You need to see your true silhouette.
- Distance: Step back. Most people stand too close. You need to see your head-to-toe proportion relative to the room. A good rule of thumb is to stand at least six feet away from a full-length mirror.
- Background: Keep it neutral. A cluttered room distracts your eye. A plain white wall or a solid-colored curtain ensures you focus solely on the outfit.
Once your space is ready, try the "360-Degree Check." Don’t just look straight ahead. Turn sideways. Look over your shoulder. Check the back view. Many fit issues-like a shirt riding up or a skirt twisting-are invisible from the front but glaringly obvious from the side or back.
The Power of the Photo Audit
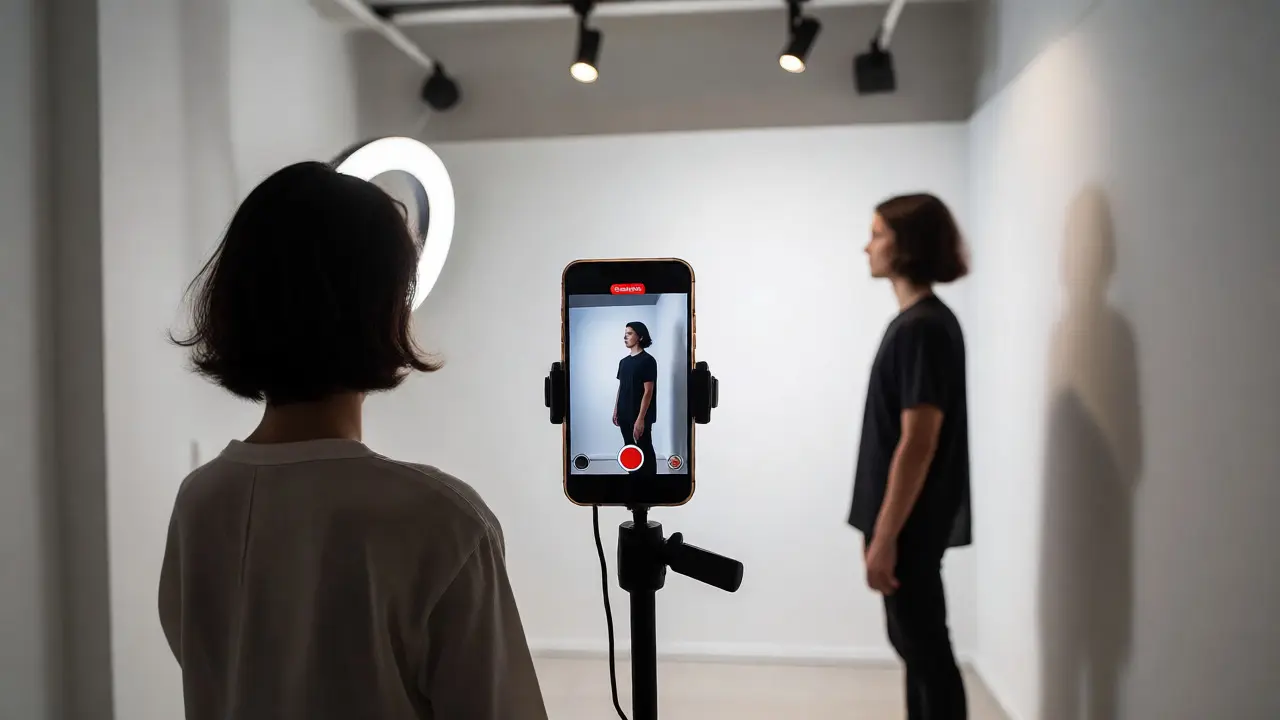
Now comes the core of the method: taking the picture. This isn’t about posting to Instagram; it’s about creating a reference library. Use your phone’s rear camera, not the selfie mode, as it has less distortion. Set a timer or use a tripod so you aren’t stretching your arm, which changes your posture.
Take three shots for every outfit:
- Full Body Front: Feet together, arms relaxed at sides. No posing.
- Full Body Side: Profile view to check posture and drape.
- Detail Shot: Close-up of the neckline, cuff, or shoe pairing.
Review these images later, ideally on a larger screen like a laptop or tablet. Small phone screens hide details. On a bigger display, you’ll notice things like mismatched undertones in your jewelry, visible panty lines, or a belt that breaks your vertical line awkwardly. This objective review allows you to make micro-adjustments before you leave the house. For example, you might realize your socks are too short, breaking the leg line. In the mirror, you missed it. In the photo, it’s obvious. Fix it, retake the photo, and then go.
| Criterion | Mirror Feedback (Subjective) | Photo Feedback (Objective) |
|---|---|---|
| Proportions | Often distorted by angle and distance | Accurate representation of ratios |
| Fit Issues | Hard to see back/side pulling | Clear visibility of seams and tension |
| Color Accuracy | Affected heavily by indoor lighting | Can be calibrated for true color |
| Movement | Static only | Video mode can show drape in motion |
Building a Digital Lookbook
One-off photos help you today, but a database helps you tomorrow. Create a folder on your phone or cloud storage labeled "Style Archive." Save every outfit you wear for work, dates, or casual weekends. After a month, scroll through them. Which outfits got compliments? Which ones made you feel uncomfortable? Which ones do you find yourself reaching for repeatedly?
This data reveals patterns you didn’t know existed. Maybe you constantly wear blue shirts because they make you feel safe, but you never wear green, even though it suits your skin tone. Or perhaps you buy trendy jackets that look great in photos but you never wear them because they’re impractical for your commute. The photo archive acts as a mirror for your habits, not just your clothes. It tells you what you actually wear versus what you think you should wear.
Use this insight to refine your shopping. Next time you’re in a store, pull up your archive. Does this new piece match the aesthetic of your most-worn items? If it doesn’t align with the successful formulas in your photo history, it’s likely a waste of money. This reduces impulse buys and increases the utility of your wardrobe.

Advanced Techniques: Video and Lighting Tests
If you want to take this further, swap photos for video. Record a ten-second clip of yourself walking, sitting, and raising your arms. Watch the playback. Does the fabric cling uncomfortably when you sit? Do the pants bag at the knees? Does the blazer restrict your movement? Motion reveals fit problems that static images miss. This is particularly useful for tailored pieces like suits or structured dresses.
Also, test your colors under different lighting conditions. Take a photo of an outfit under office fluorescent light, outdoor daylight, and evening restaurant dimness. Some colors pop in daylight but look muddy indoors. Knowing how your palette performs in various environments prevents you from wearing a shade that looks great in your closet but dulls your complexion at dinner.
Common Pitfalls to Avoid
Even with the best tools, you can mess up the process. Here are the traps to watch out for:
- Over-Editing: Don’t use beauty filters or heavy editing apps. They smooth out textures and alter body shapes, defeating the purpose of objectivity. Stick to basic brightness and contrast adjustments.
- Inconsistent Angles: Always shoot from the same height. Shooting from above makes you look shorter; shooting from below adds bulk. Keep the lens at mid-torso level for the most accurate representation.
- Neglecting Undergarments: Your bra straps or underwear lines are part of the outfit. If they distract in the photo, change the garment or the underlayer.
- Ignoring Context: An outfit might look perfect in isolation but fail in context. Photograph yourself in the environment where you’ll wear it. A suit looks different against a brick wall than it does in a sterile office lobby.
By treating your appearance as a system to be tested rather than a mystery to be guessed, you gain control. You stop asking "Does this look good?" and start asking "Does this function well?" The answer becomes clear when you let the camera tell you the truth.
What is the best lighting for checking my outfit?
Natural daylight is the gold standard because it provides the most accurate color rendering and shadow definition. If natural light isn't available, use a ring light or softbox positioned at eye level to mimic diffuse sunlight. Avoid overhead ceiling lights, which cast harsh shadows under the eyes and nose, and avoid warm yellow bulbs, which distort skin tones and fabric colors.
How often should I take outfit photos?
For the first month, photograph every outfit you wear to build a baseline dataset. After that, you can reduce frequency to once or twice a week, or whenever you wear a new combination of items. The goal is to identify recurring patterns and successful formulas rather than documenting every single day forever.
Do I need a professional camera or can I use my phone?
A modern smartphone camera is more than sufficient. The key is using the rear camera instead of the front-facing selfie camera, as the latter often has a wide-angle lens that distorts facial features and body proportions. Ensure your lens is clean and use the timer function or a tripod to maintain a consistent distance and angle.
How does the mirror method help with weight fluctuations?
The mirror and photo method helps you assess fit objectively rather than emotionally. If you gain or lose weight, photos will clearly show where clothes are becoming too tight or too loose, allowing you to adjust tailoring or swap sizes without guessing. It also helps you adapt your styling techniques, such as changing hem lengths or layering strategies, to accommodate your changing body shape.
Can this method help me shop smarter?
Yes, significantly. By reviewing your photo archive, you can identify which items you wear frequently and which ones gather dust. Before making a purchase, compare the potential new item against your most-worn pieces. If it doesn't complement your existing successful combinations, it's likely a poor investment. This data-driven approach reduces impulse buys and ensures each new addition serves a practical role in your wardrobe.


Write a comment